I have plenty of old tech in my life and am constantly making repairs. Keeping old cameras and darkroom equipment running is super expensive (if you can even find the parts you need). When I re-discovered 3d printing, my life changed. I could produce plastic parts for pennies that used might cost $50+ each.
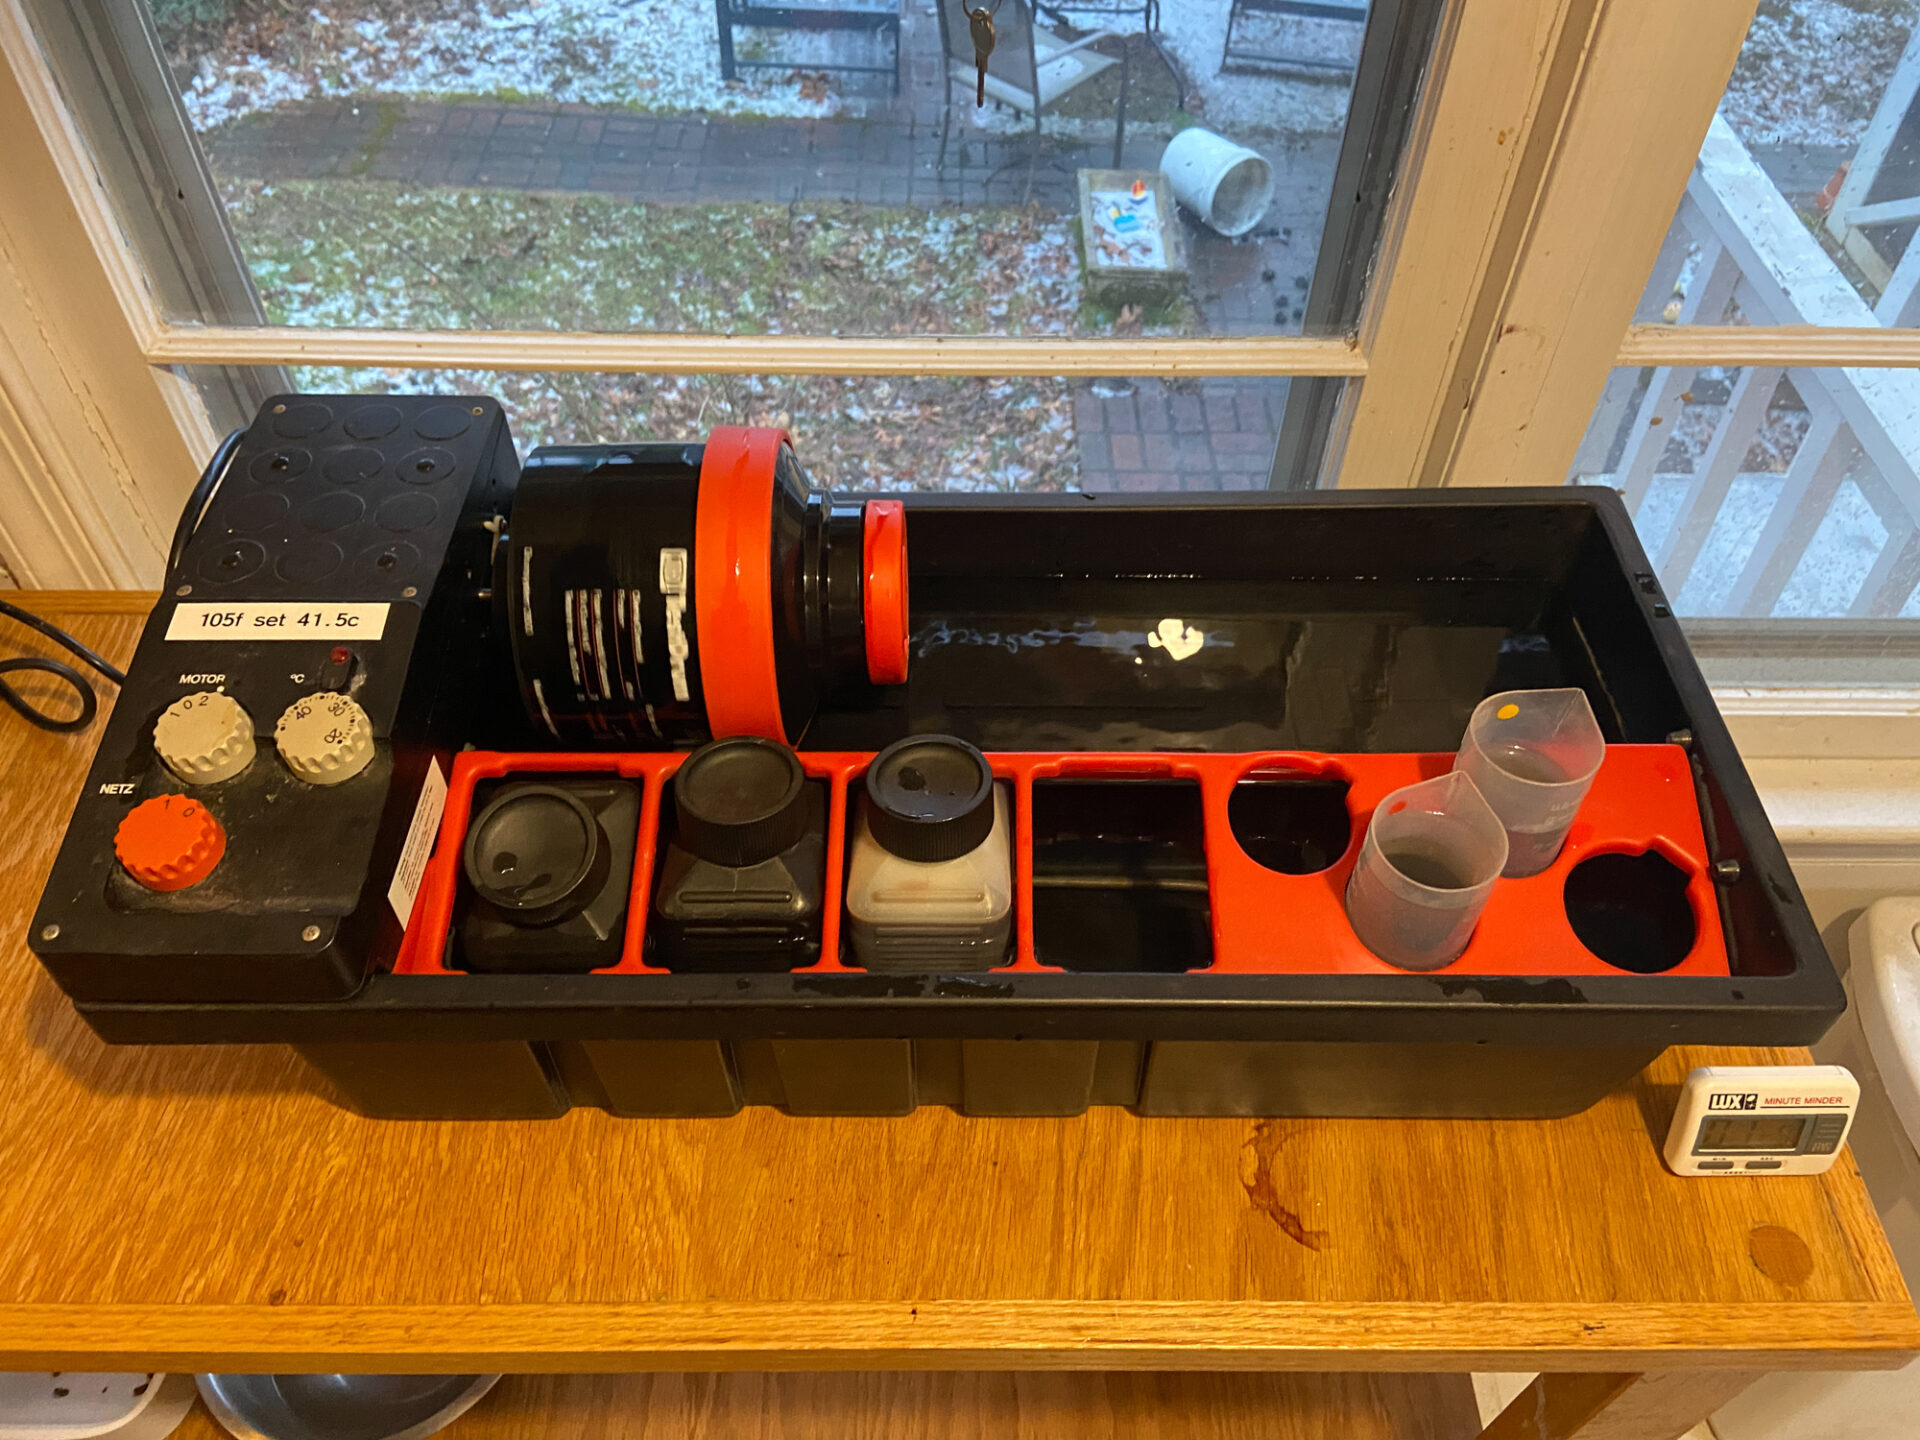
I was missing many key parts required to get my as-is Jobo film processor running. The Jobo processor controls the agitation and temperature (using a heated water bath) when developing films. For some sensitive processes (like c-41 color film), a rotary processor greatly improves developing results and consistency compared to processing by hand.
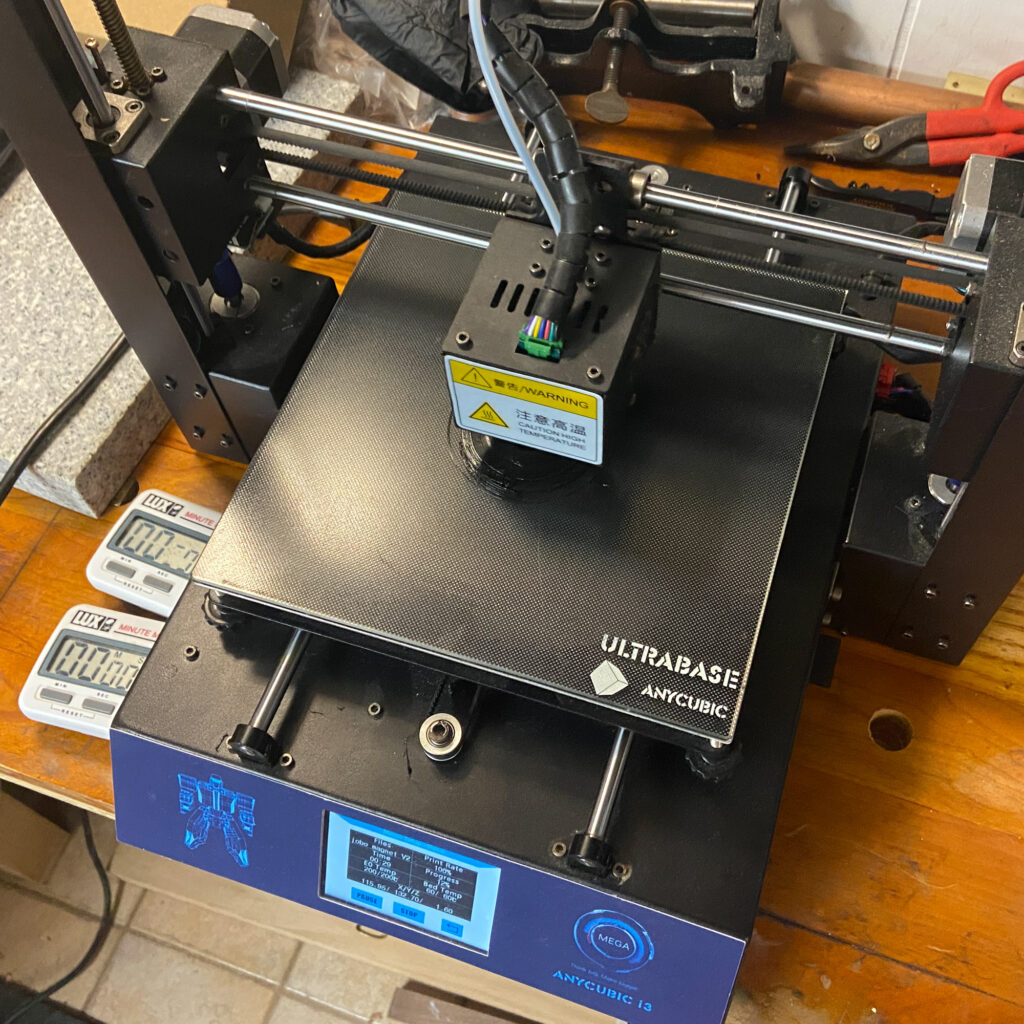
I found that most parts I needed had 3d files freely available on Thingiverse. I could download these files and send them to my cheap 3d printer using free software called Ultrimaker Cura. Printers (and PLA material) are very inexpensive these days. For an investment of $100-$200 and some time, one can produce practically any part required for any hobby.

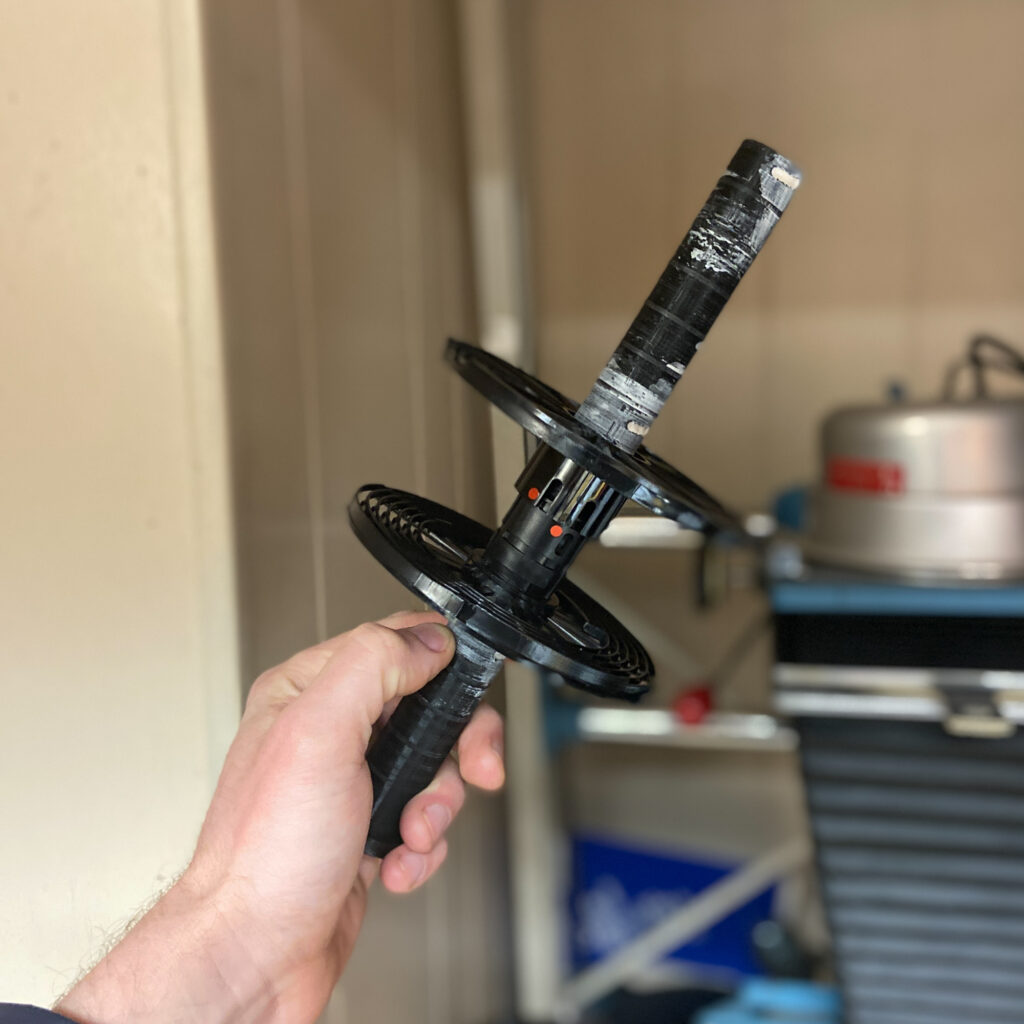
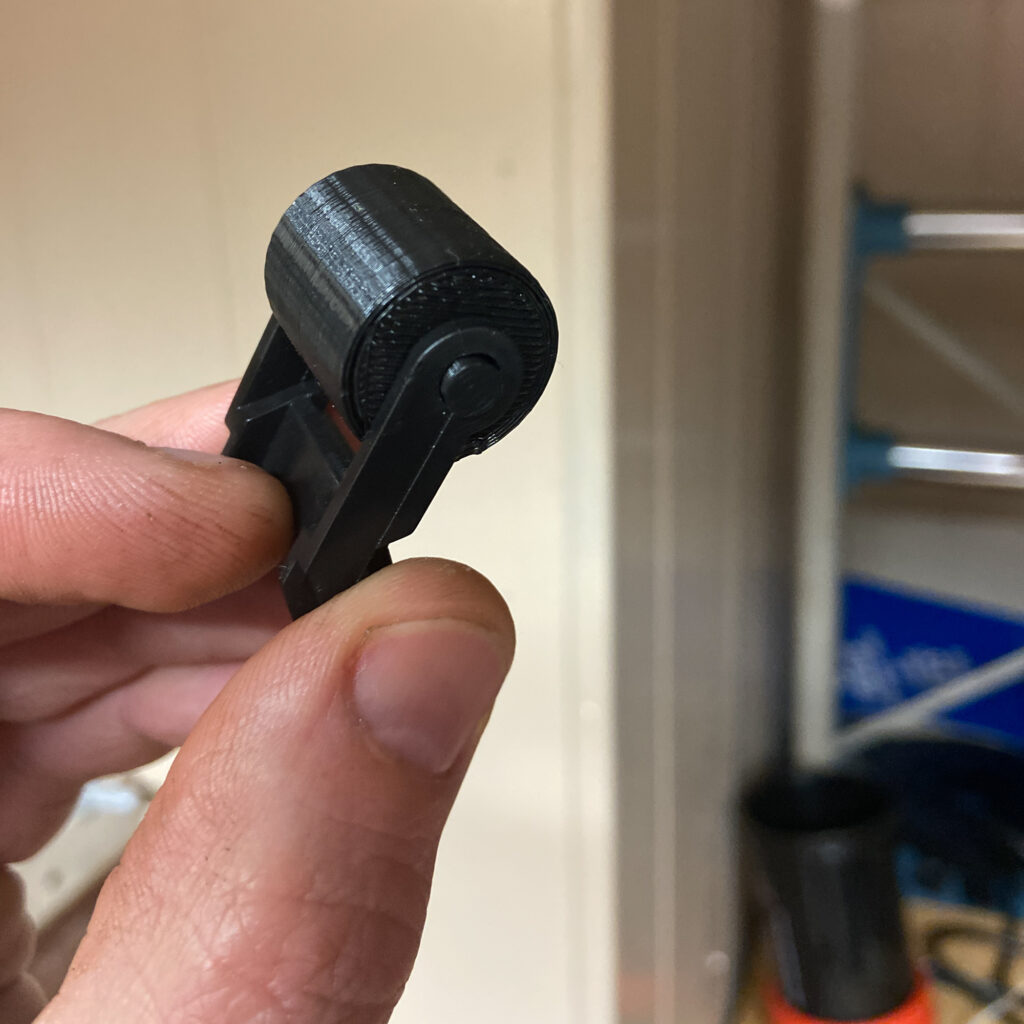
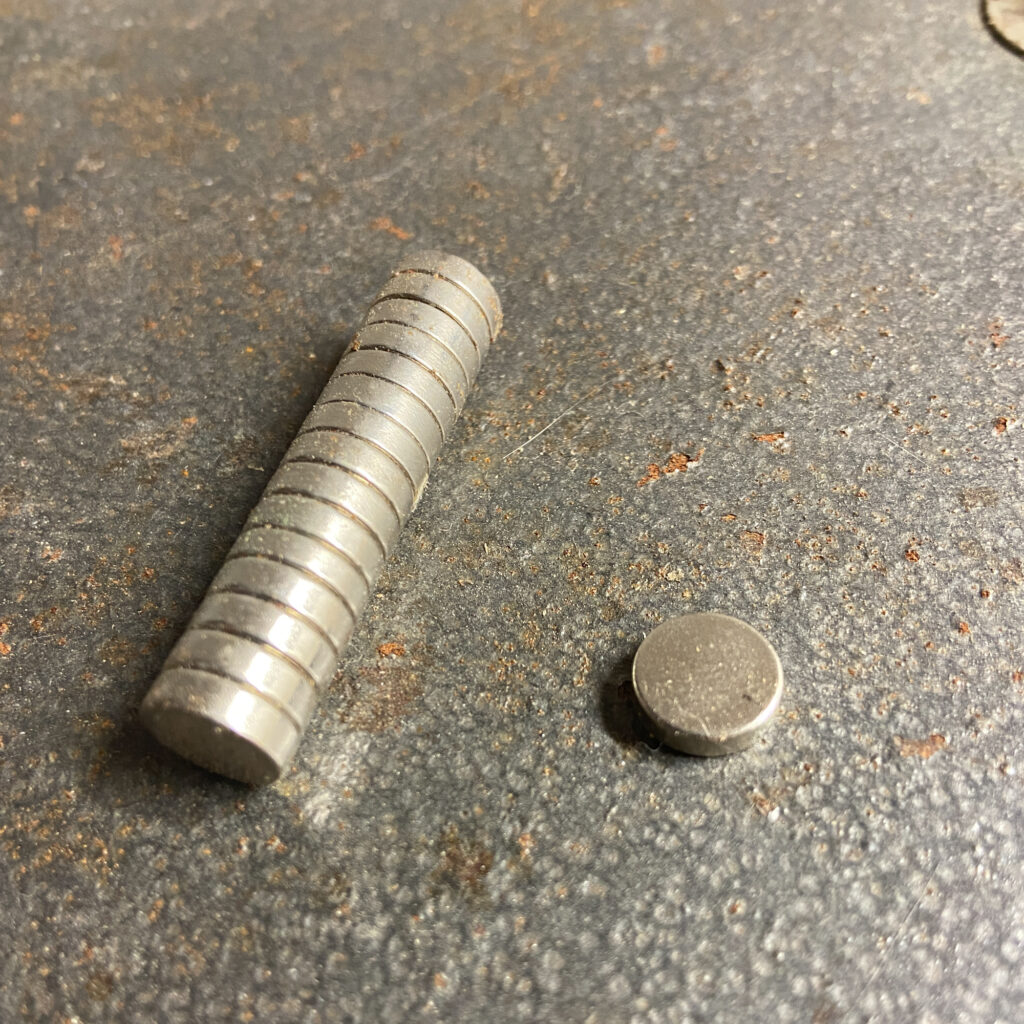
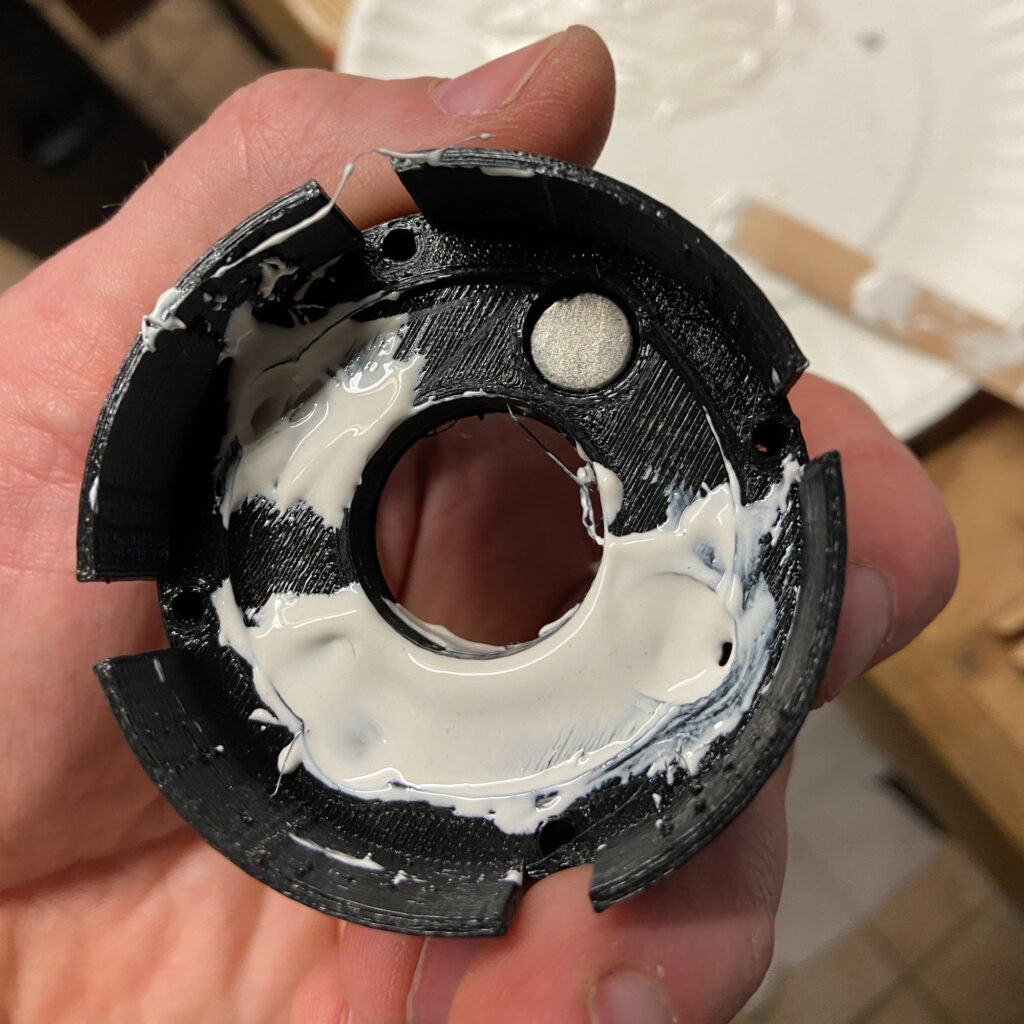
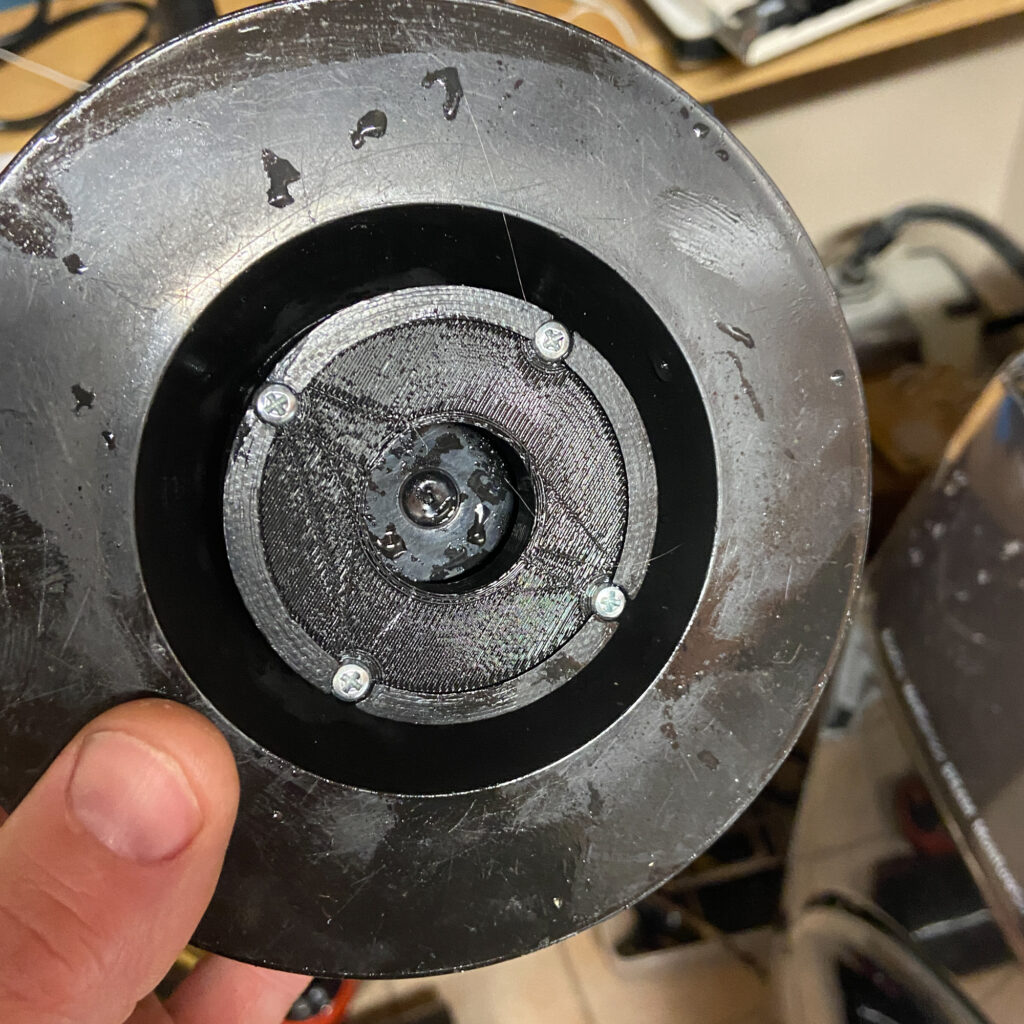
I epoxied printed core segments together to hold film reels. Rollers printed to support the tank as it turns. 3d printing a magnet holder that magnetically joins the tank to the processor. neodymium magnets will be used with this 3d part. Magnets are epoxied in place. Assembly is screwed into the bottom of the developing tank. Each of these DIY parts will save me $50.
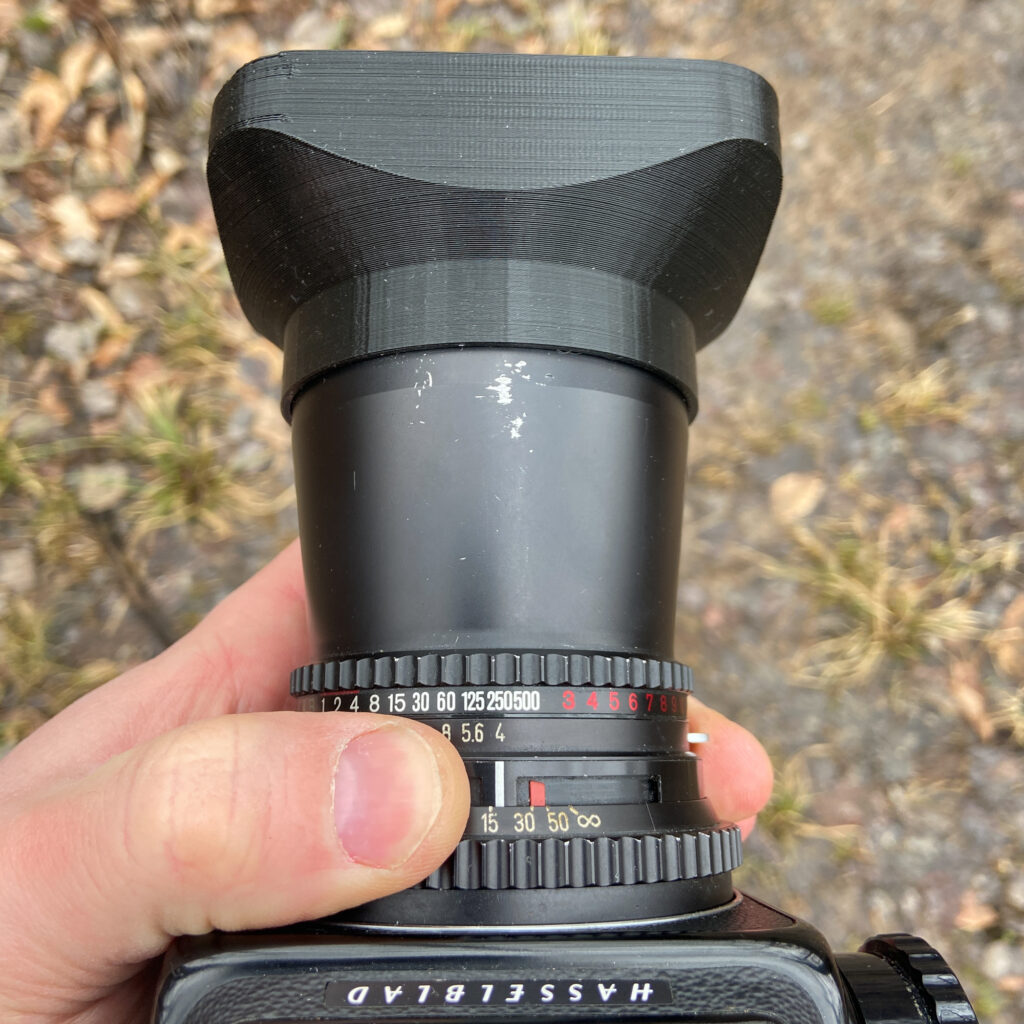
Countless useful parts are freely available on Thingiverse (or you can design your own. I was able to find files to produce lens shades for my ancient (but once common) lenses. Take a look, see if you can find useful files for your hobbies and interests.
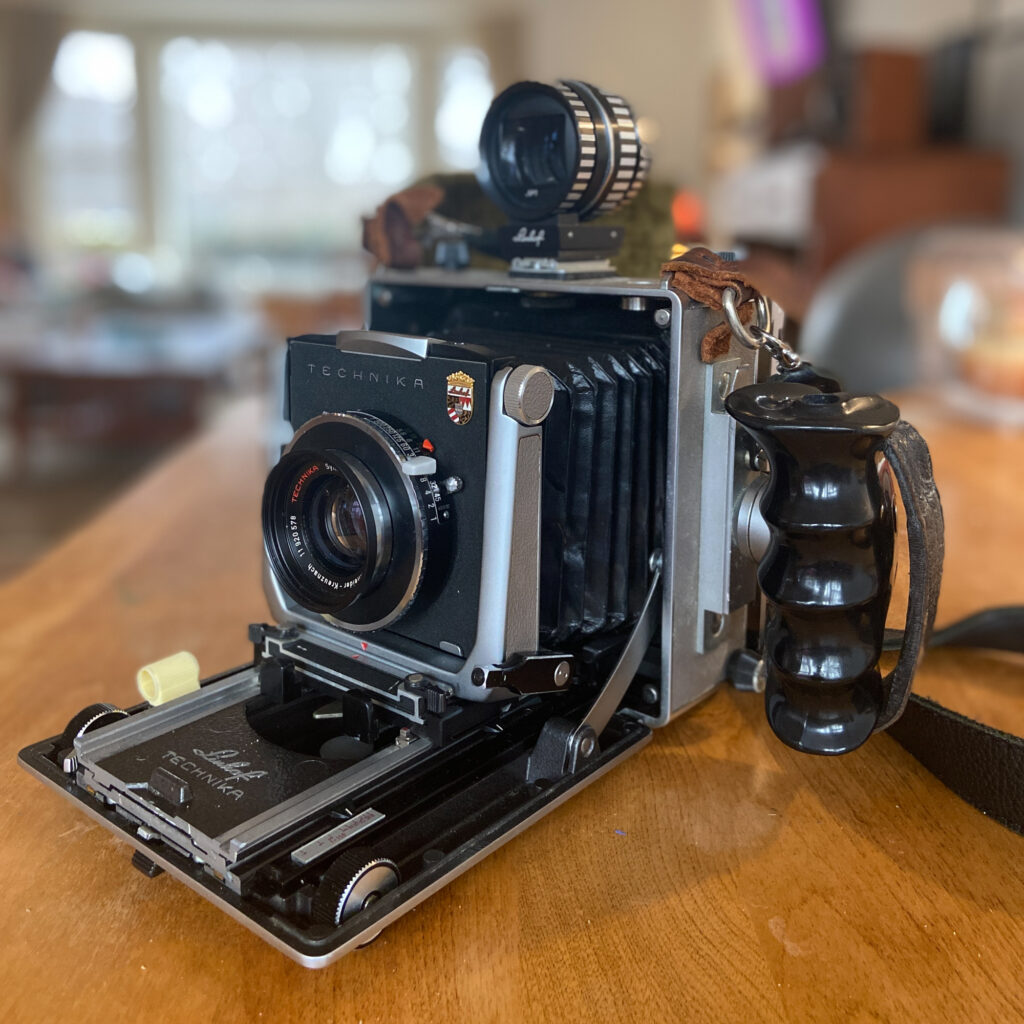
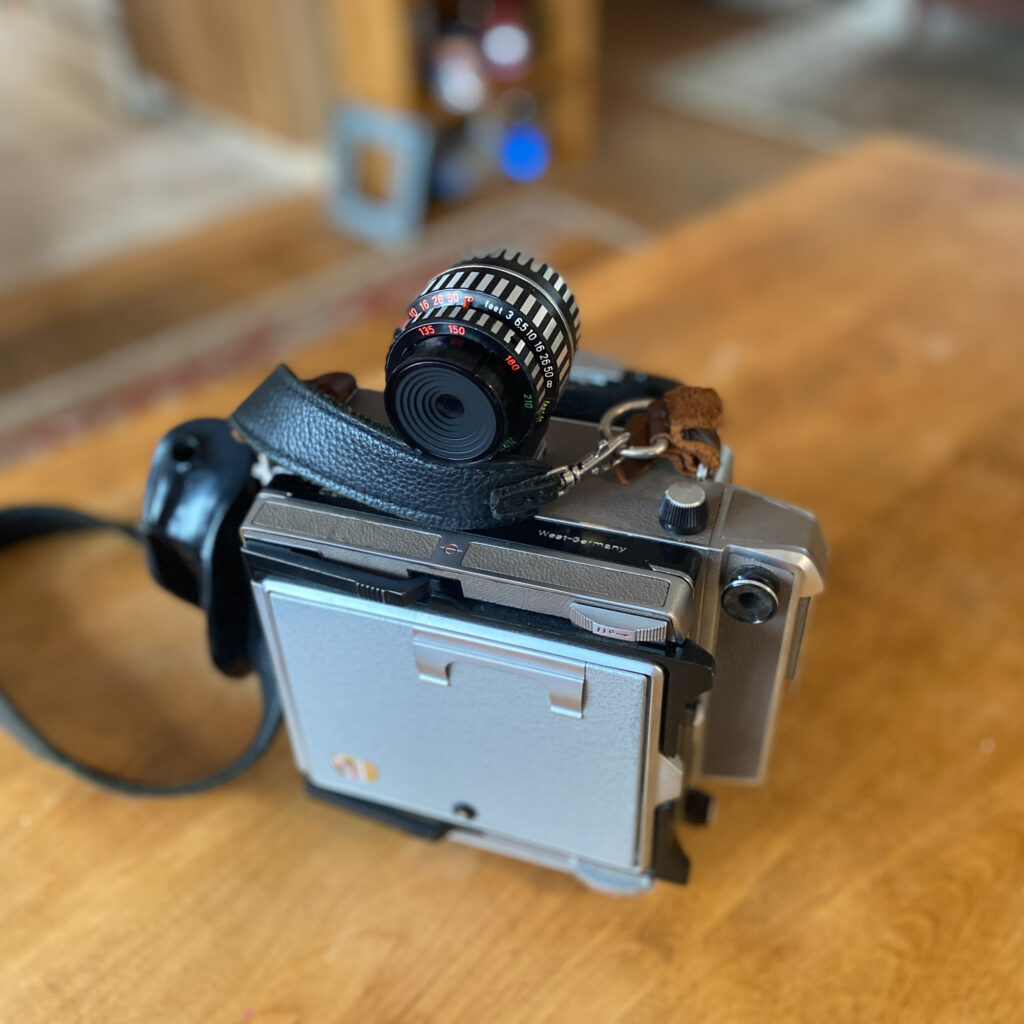
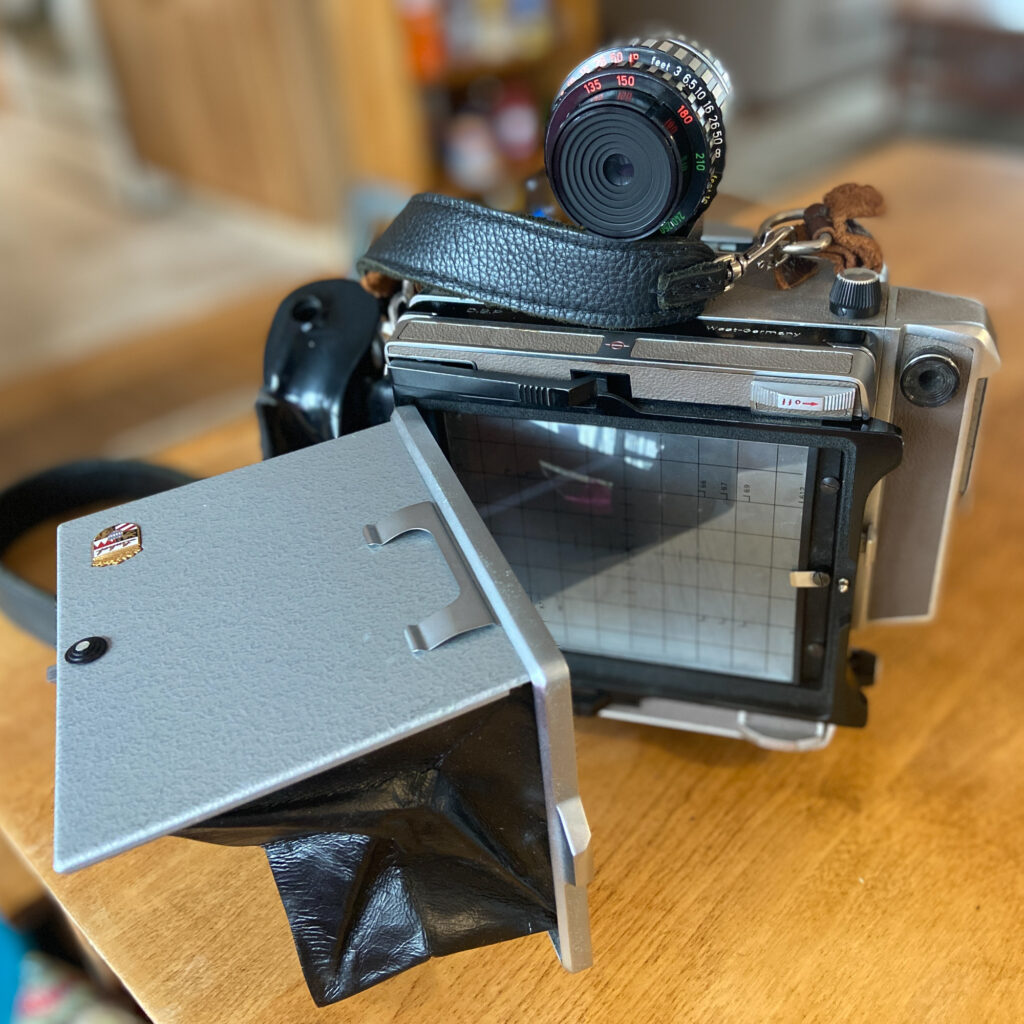
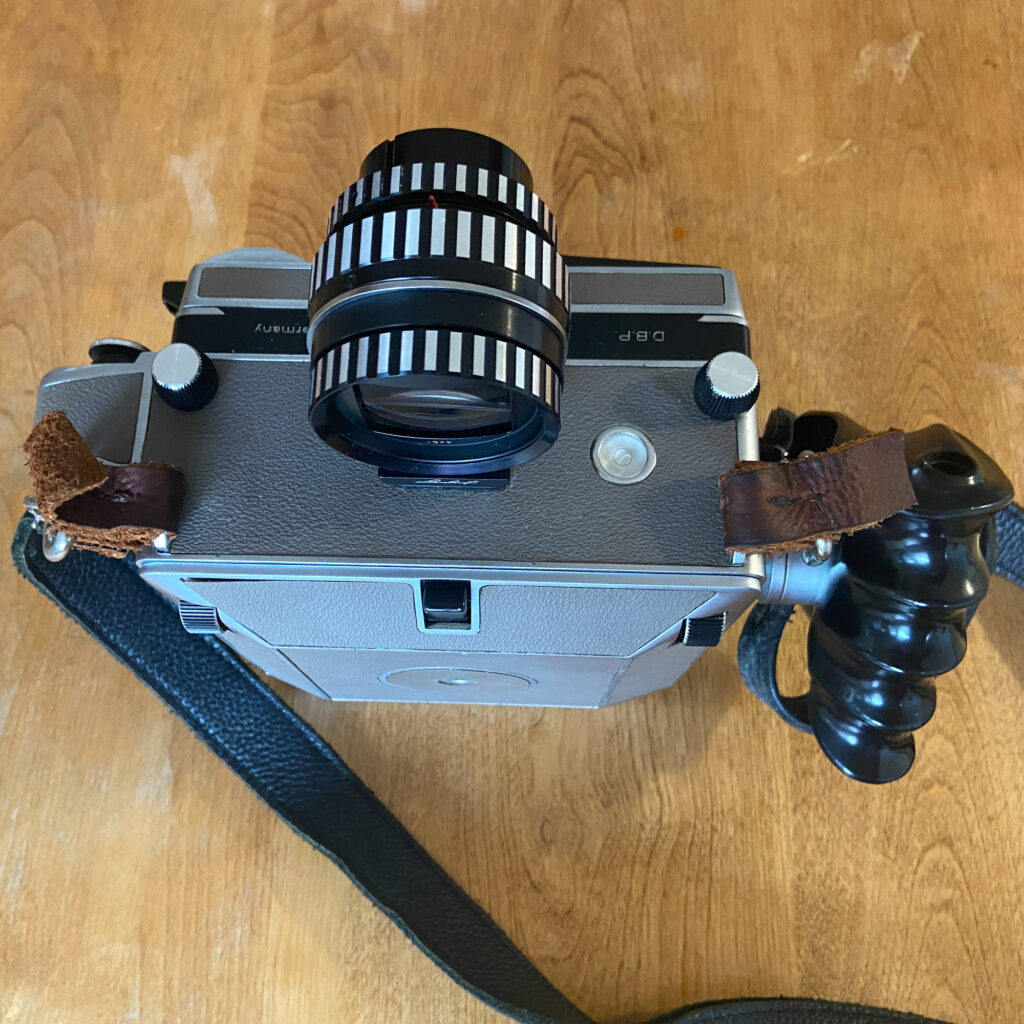
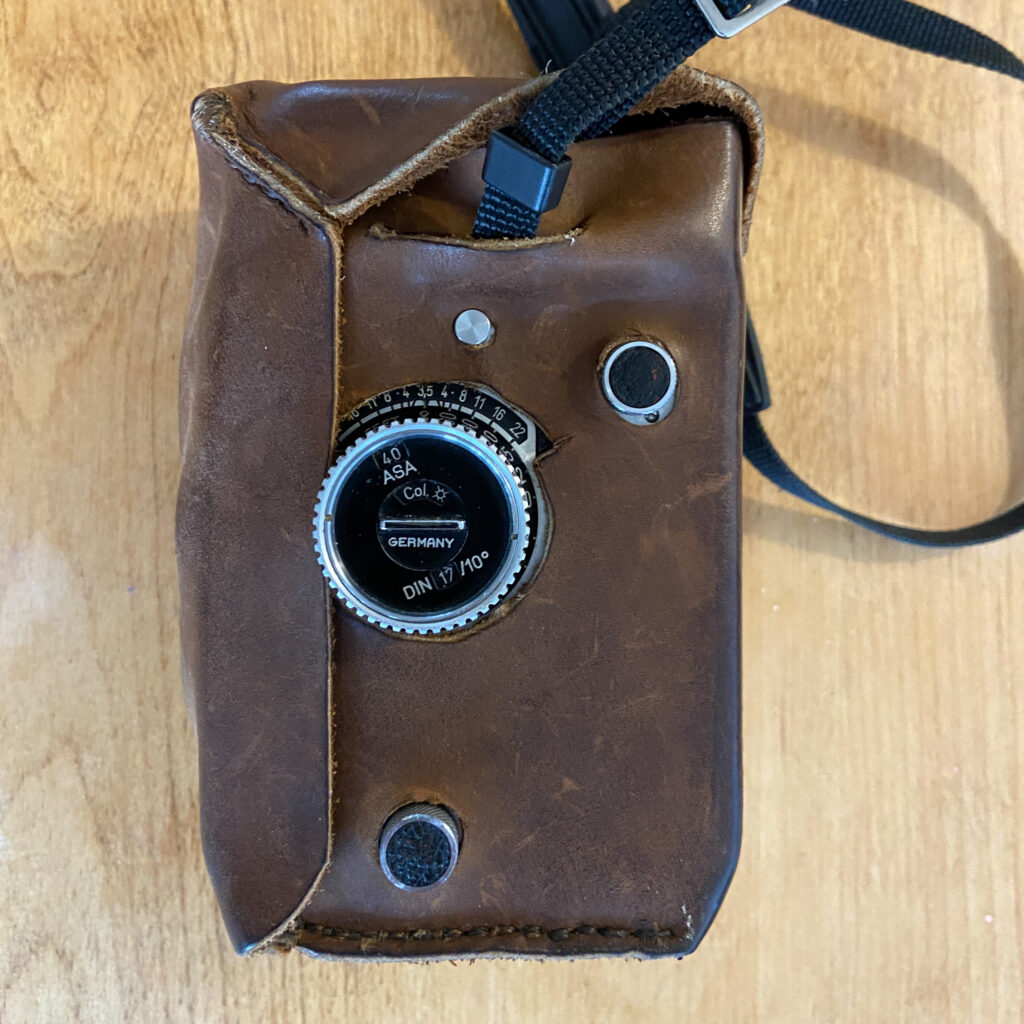
To test my new parts and processor, I took some sample photos using my Linhof Technika V. This folding camera takes massive 4×5 negatives. It is a super versatile large-format camera that works best on a tripod, but also can be hand-held. Since it uses sheets of film, I didn’t need to shoot an entire roll to test a few images.
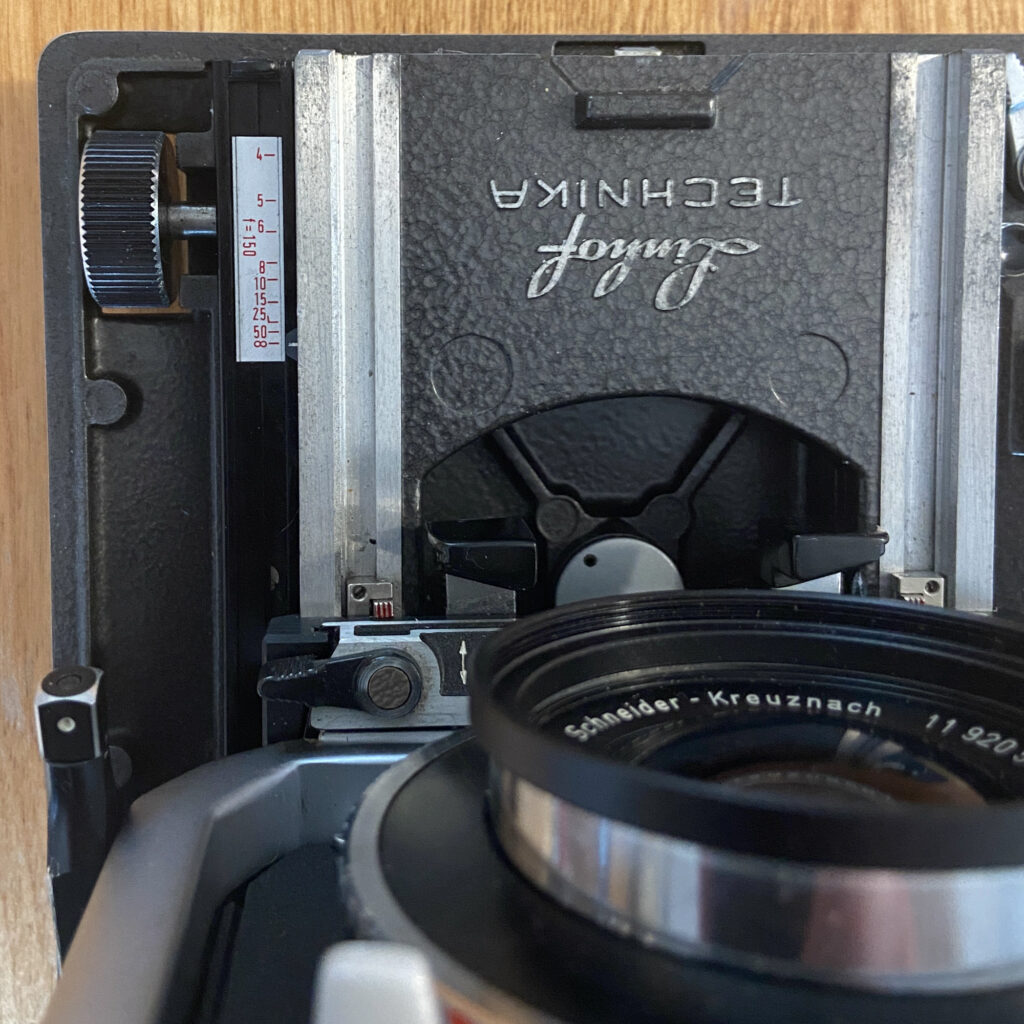
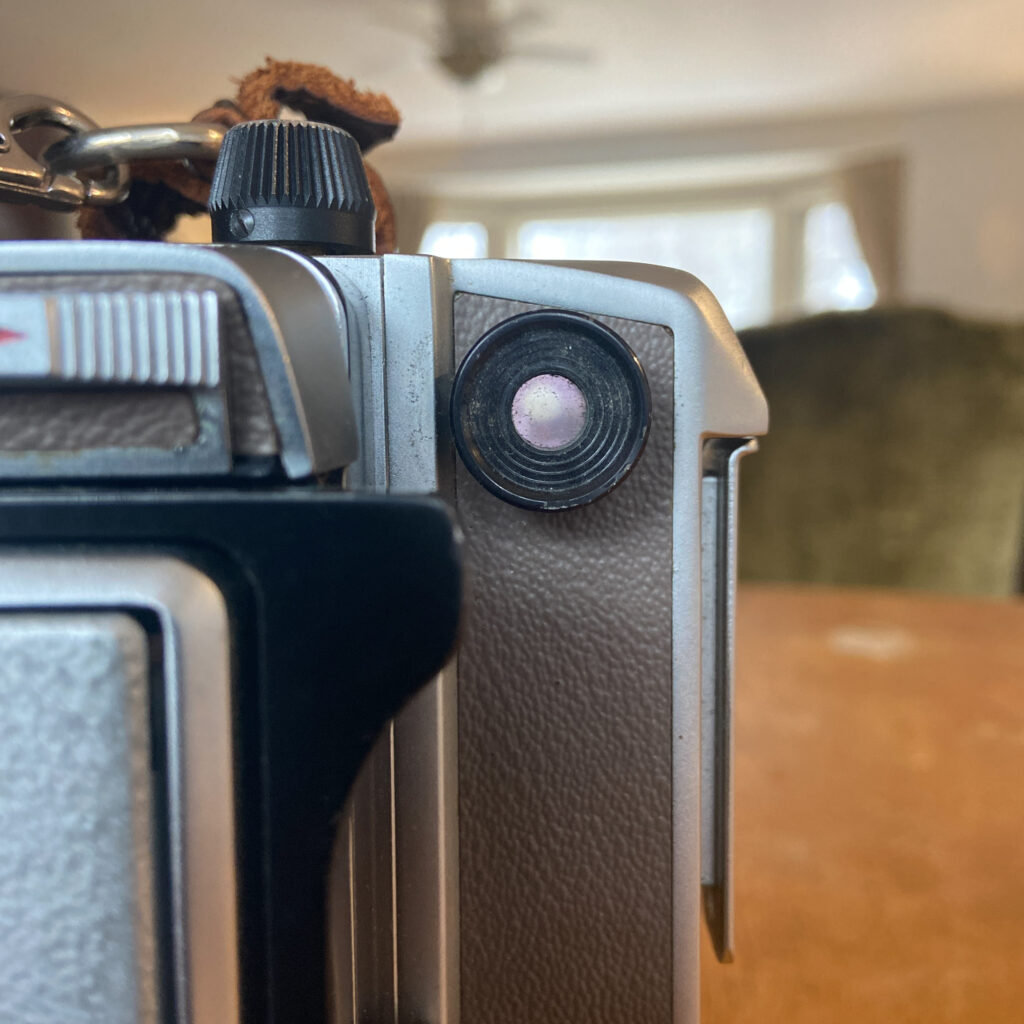
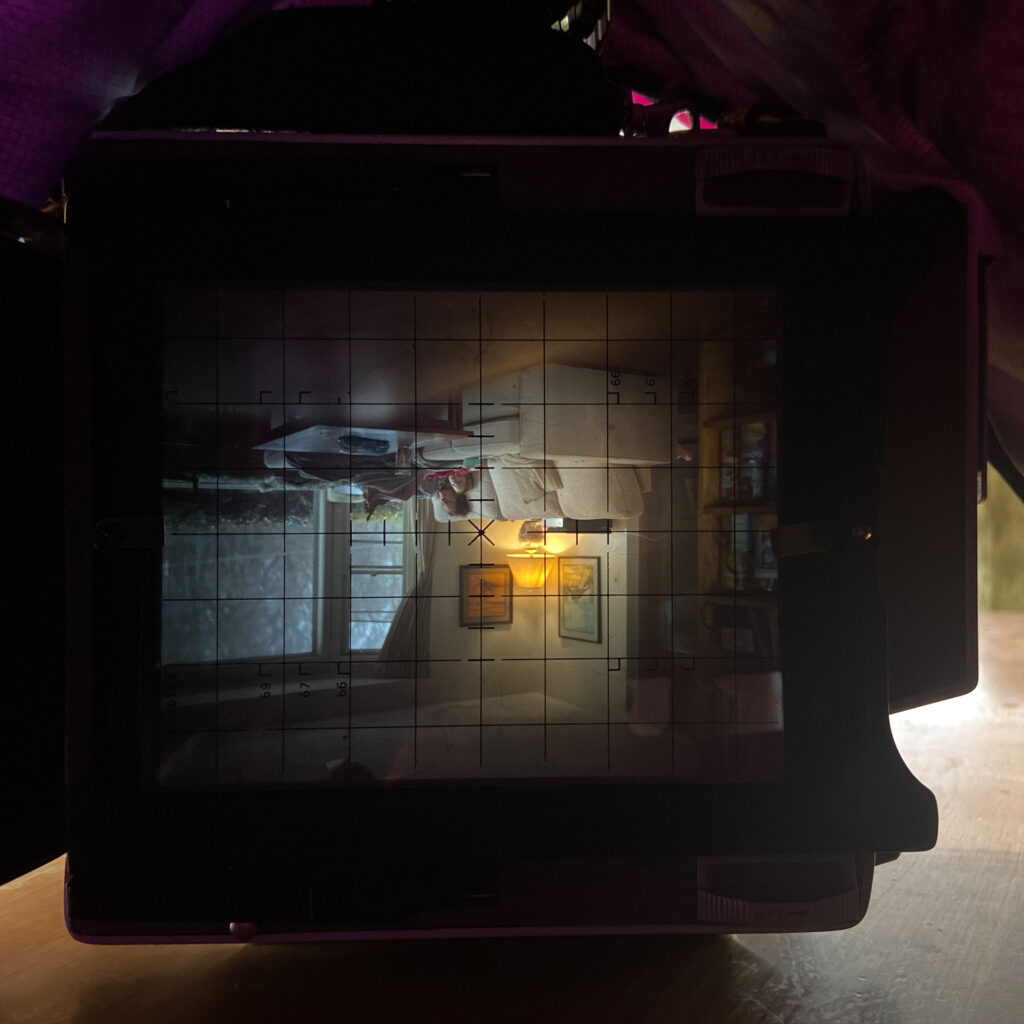
Focus scale shown in top left. You can use this to focus in a pinch. Parallax-correcting viewfinder can be used to frame shot when hand-held. Rangefinder is calibrated to my 150 lens for handheld focusing. Focusing using the ground glass. The image is upside down but WYSIWYG. I made this camera strap. A durable metal package once folded. The camera has incredible extension for taking macro photos or using long focal lengths.

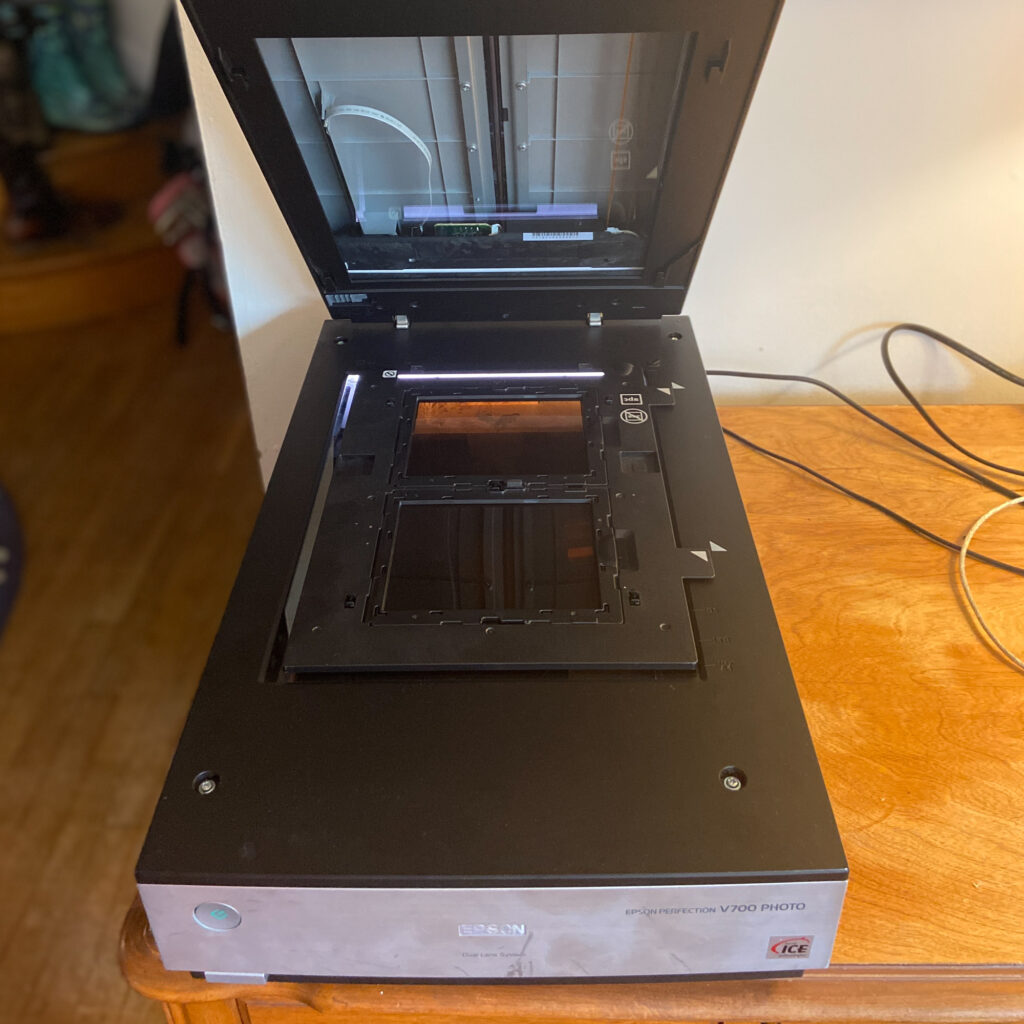
With my job processor running, I can now easily process my temperamental 4×5 color negative film. Once developed, I can print images with my massive enlarger, or scan them as I do here.
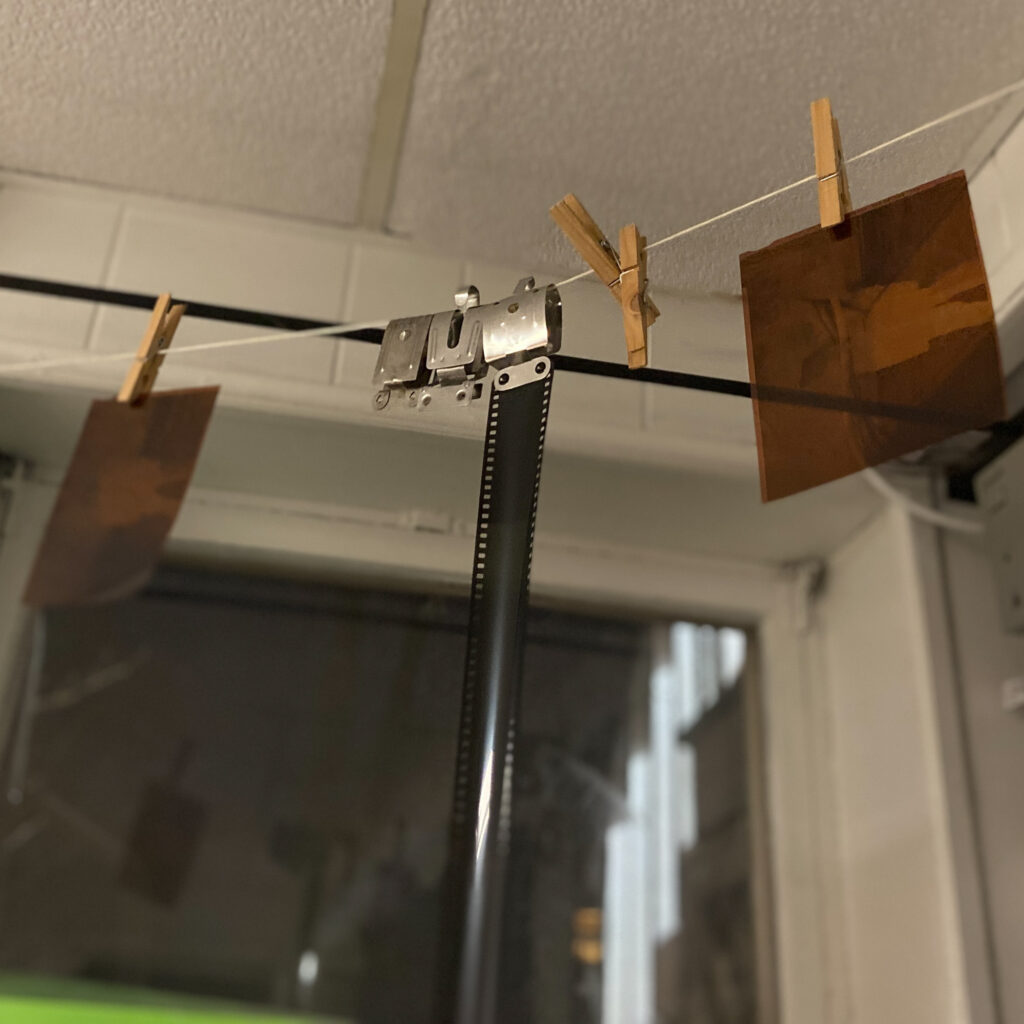
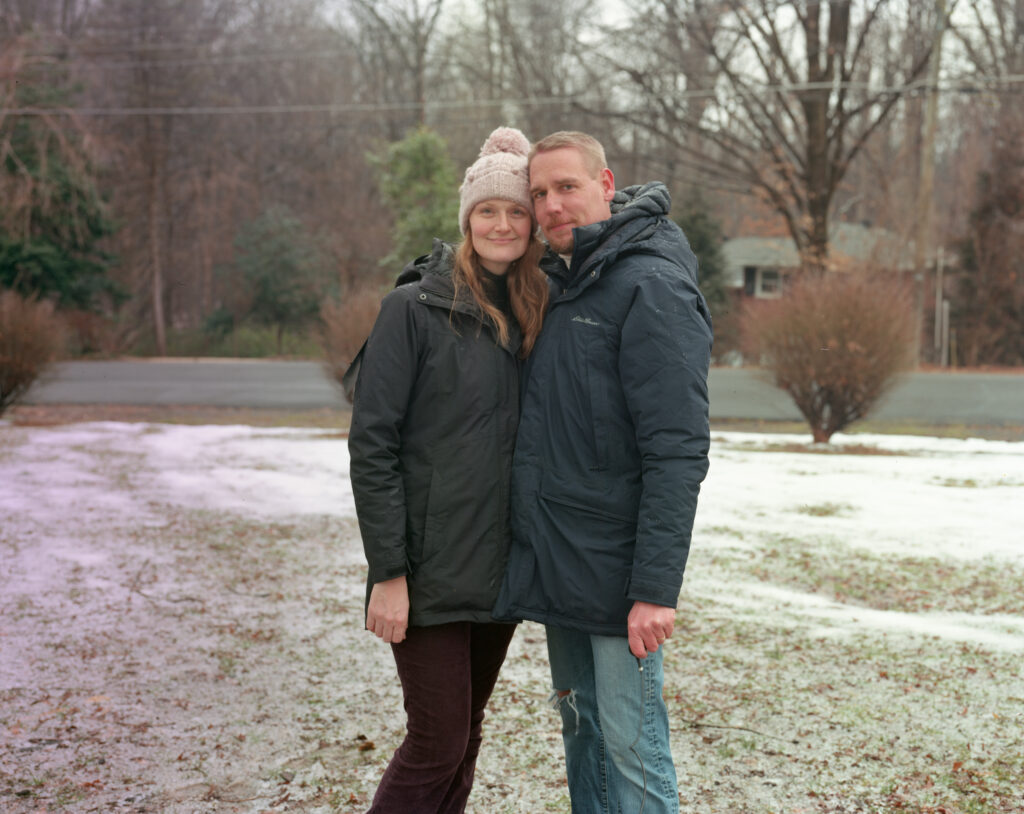
Below is one of my two test shots. The results are better than any 4×5 color film I have processed to date. With more practice and experimentation, I can improve from here.
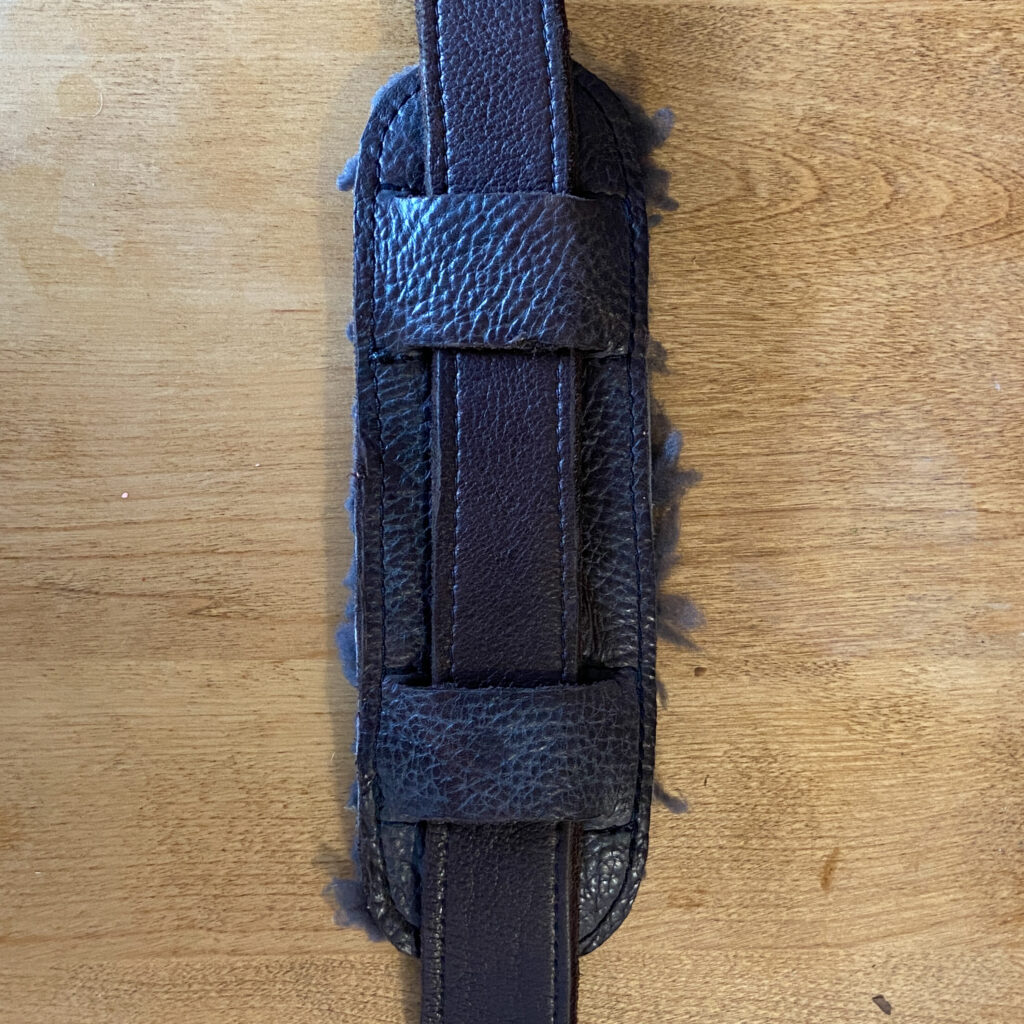
Bonus: Sewing is also a useful skill for photographers. Here are some leather projects I designed and sewed to help protect my gear.
Hand cut/stitched case for my TLR. Elegant strap and protectors fit most of my gear. Sheep’s-wool lined pad takes the pressure off when carrying massive gear like my 4X5 camera.

Finaly, my “recipe” for developing c-41 with the Jobo processor using the Unicolor/JOBO C-41 chemistry kits:
- Set processor to 38 degrees C (100.4 F).
- Heat developer, blix, and water (for initial rinse) to 38 degrees.
- Turn processor to high speed.
- Water bath for 5 mins at high speed.
- Develop for 3:15. (First min at high speed. Remaining time at low speed.)
- Blix for 6 min (First min at high speed. Remaining time at low speed.)
- Wash with water for 5 mins. Avoid temperature shocks by heating the first wash while doing the Blix step. Gradually introduce running water to the filled tank at a similar temp.
- Stabilize for 1 min at room temperature.
- Hang to dry.
Tips: Fill/empty tank quickly (in the sink) then roll on counter immediately after filling to spread each new chemical as quickly as possible. After attaching tank to processor, watch it for the first minute because it might disconnect.
Remove any clog tops from JOBO lids if you have a magnetic machine like mine. These pop off with some force. The clogs have a narrow opening and will make the tank slower to fill. You want your chemicals quickly and evenly distributed across the film for quality results (since c-41 dev times are so short). If you are slow, you will have spots or streaking.